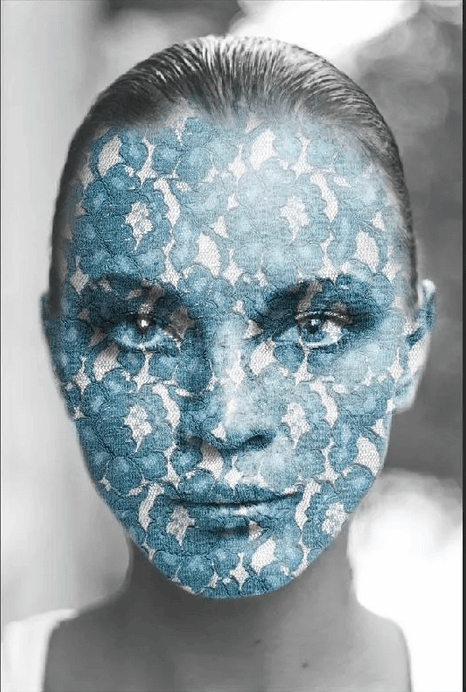
Layer Mask Mastery
Layer masks are one of GIMP’s most powerful tools for non-destructive editing. They allow you to hide or reveal parts of a layer without permanently deleting pixels. Start by adding a layer mask to any layer via the right-click menu.
A white mask reveals everything, while a black mask hides it. Use the Paint Tool with black or white to refine visibility. This is perfect for blending images, removing backgrounds, or creating smooth transitions.
For precise selections, combine masks with the Paths Tool. Create a path around your subject, convert it to a selection, and apply it to the mask. This ensures clean, sharp edges in your edits.
Masks also work beautifully with gradients. A black-to-white gradient on a mask creates a smooth fade effect. This is ideal for compositing images or softening harsh edges.
Adjustment layers can also utilize masks. If you apply a Levels or Curves adjustment, painting on its mask controls where the effect is visible. This lets you selectively enhance shadows or highlights.
For advanced masking, try Refine Edge. While GIMP doesn’t have this natively, you can simulate it using feathering and blurring on masks. This helps with tricky selections like hair or fur.
Mastering layer masks in GIMP gives you complete control over your edits. Practice using them in different scenarios to enhance your workflow!
